Hallo und herzlich willkommen bei unserem heutigen Artisan Blog Hop! Diesmal wird es blumig bei uns, denn wir haben extra für Euch das wunderschöne Produktpaket Blütenzauber getestet und ein paar Inspirationen vorbereitet!
Hello and welcome to today's Artisan Blog Hop! This time it will be flowery with us, because we have specially for you the beautiful product bundle Beautiful Promenade tested and prepared a few inspirations!

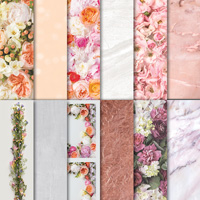
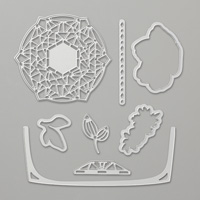
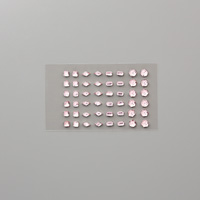
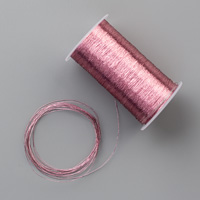
Zu der Produktreihe gehören neben dem Stempelset und Stanzen auch das richtig schicke Designerpapier Blütenpracht, passende Strass-Schmucksteine, Metallic Garn, Glitzerpapier und Farbkarton! Schaut im Katalog auf den Seiten 106-107, dort gibt es auch noch ein paar schöne Projektbeispiele!
The product suites also includes the beautiful
Petal Promenade Designer Series Paper, Petal Pink Rhinestone Gems, Rose Metallic Thread, and cardstock! In the catalog on pages 106-107, there are also more Information and some nice project examples!
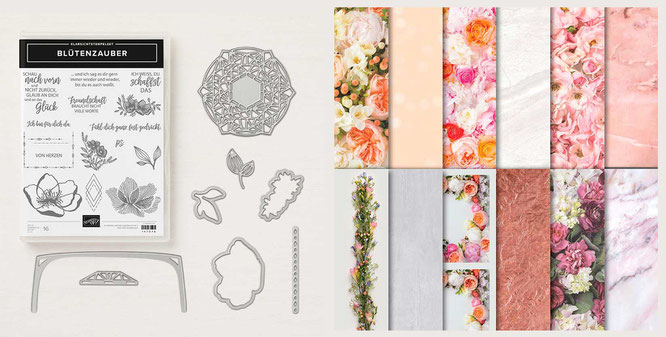
Ich mag Rosen sehr und als ich das Designerpapier gesehen habe, war ich sofort blitzverliebt! Auch die marmorierten Rückseiten sind ein absoluter Hingucker!
Zufälligerweise hatte ich gerade ein Geschenk auf dem Tisch liegen, dass ich verpacken wollte und habe mich dazu entschlossen, eine Geschenkeschachtel und eine Glückwunschkarte mit einem passenden Briefumschlag zu machen.
I like roses very much and when I saw the designer paper, I was immediately in love! The marbled sheets are an absolute eye-catcher!
Coincidentally, I just had a present on the table that I wanted to pack and decided to do so to make a gift box and a greeting card with a matching envelope.
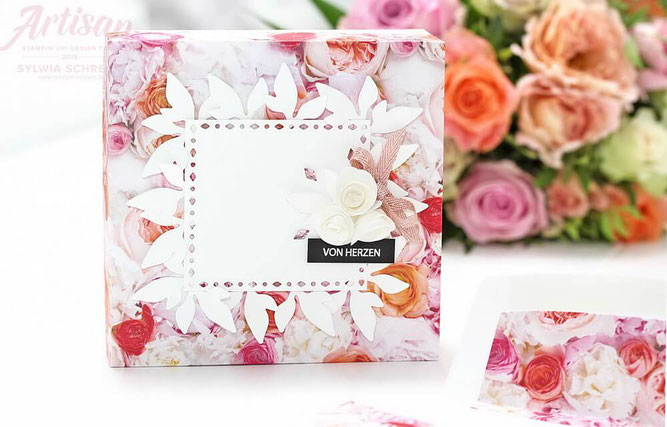
Als erstes habe ich die Verpackung gefertigt. Es ist eine einfache Schachtel mit einem Unterteil und einem Deckel aus Designerpapier. Darauf habe ich ein paar Blätter und einen Aufleger aus Flüsterweiß gelegt. Den Rand von dem Rechteck habe ich zusätzlich mit der länglichen Stanze gestanzt und so ein Deckchenlook erschaffen. Für die kleinen Röschen habe ich ein paar Kreise mit der Kreisstanze 4,4 cm aus flüsterweißen Farbkarton gestanzt, eine "Spirale" reingeschnitten und zum Röschen gedreht, anschließend mit Klebepunkten geklebt.
Damit der Wunschspruch nicht ganz in der Blütenpracht verschwindet, habe ich ihn in weiß auf einem schmalen Streifen schwarzen Farbkarton embosst.
First, I made a simple box with a base and a lid made of designer paper. I put a few leaves on it and a piece whisper white one. The edge of the rectangle I have additionally punched with the elongated Thinlits and created a doily look.
For the little roses I have punched a few circles with the circle punch 4.4 cm of whisper-white color cardboard, cut a "spiral" and turned it into three roses, then glued with glue dots. So that the sentiment does not disappear completely in the flow of flowers, I embossed it in white on a narrow strip of black color cardstock.

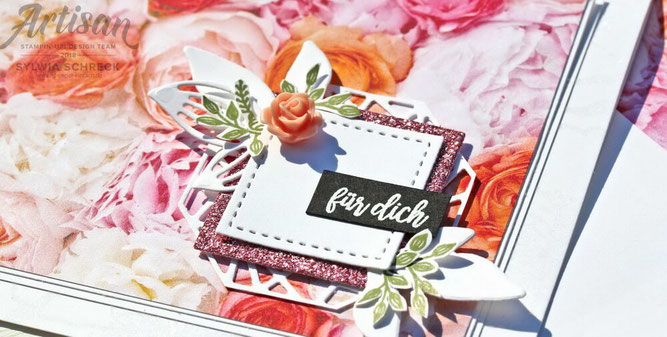
Auch die Karte war schnell gemacht, denn bei dem blumigen Muster muss man eigentlich gar nicht so viel machen!
Das bei dem Produktpaket auch eine Stanze für das Innere der Umschläge dabei ist, finde ich besonders schick! So kann man ein Geschenk-Set perfekt aufeinander abstimmen.
The card was also made quickly. And in the bundle is also a thinlit dies for the inside of the envelopes, I also adapted an envelope.
Jetzt lasst uns weiterhüpfen und schauen, was die Mädels vorbereitet haben. Bei Cathy geht es weiter:
Now let us go on and see what the girls have prepared. The fantastic Cathy continues:








Kommentar schreiben
Rhoda MacPherson (Donnerstag, 20 September 2018 17:44)
Love that gorgeous box, the square with the die cut edges and the prettiness of these!
Charlet (Donnerstag, 20 September 2018 17:50)
This paper is perfect for gift wrap! Love how you've shown the gift and the matching card. So pretty. AND your spiral flowers are beautiful. Lovely work.
Linda van Wely (Donnerstag, 20 September 2018 21:45)
The queen of boxes! I just love your projects!! As always!! And your photography, I'm always amazed how good they are! You've used the dsp so perfect, this looks so romantic all!
Lauren (Donnerstag, 20 September 2018 22:10)
These are beyond beautiful! I just love how you’ve used that diamond die cut to make a fun and unique border. Just perfect!
Jennifer Frost (Freitag, 21 September 2018 00:38)
Oh so beautiful! Love the white and black detail with this busy floral paper.
Sarah (Samstag, 22 September 2018 10:10)
Beautiful details and your projects really emphasise the amazing paper! I love how you created your border too.x
Sandra von Stempelklecks (Sonntag, 23 September 2018 19:13)
Ein Traum, liebe Sylwia. Du hast wieder soviel Liebe ins Detail gesteckt - perfekt! : )
Liebe Grüße
Sandra